Custom questions are available at additional cost and may be purchased directly through the Management Portal. Up to 8 custom questions can be added to each of your v3 HRAs and will appear at the end of the assessment, just before the Contact Form.
To purchase and add custom questions, navigate to the Customization page of the Management Portal. Click the “Custom Questions” tile. From here, click the “Purchase” button and select the number of custom questions you wish to purchase.


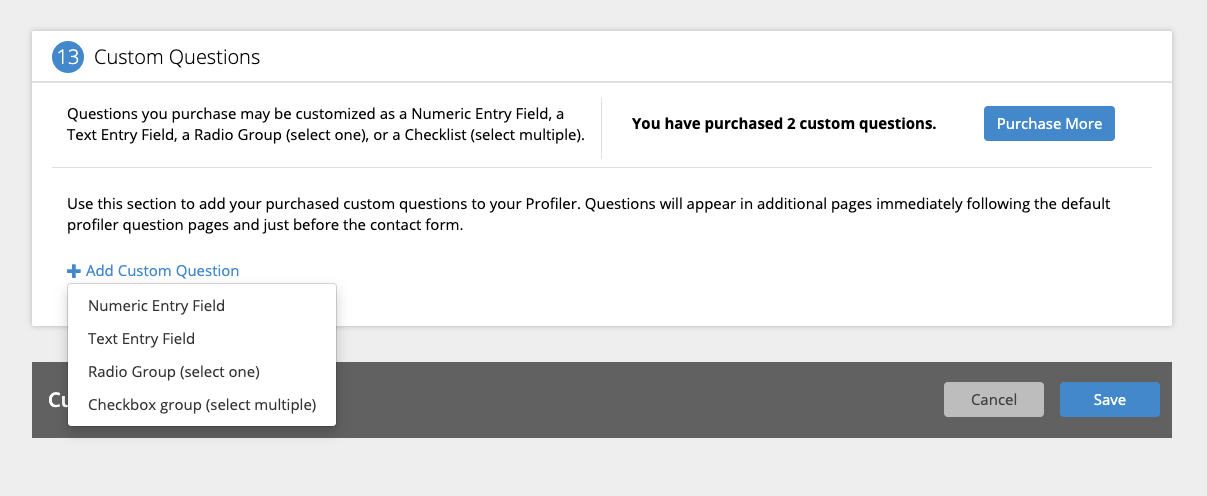
Next, click “+ Add Custom Question” and select the type of question you would like to add: Numeric Entry Field, Text Entry Field, Radio Group or Checkbox Group.

For each question type, complete the form with your question text and data name field. You will also need to provide a validation message. This can be something like: “Please enter a number between x and y” or “Please answer if you have additional insurance” — depending on how you would like your users to answer the question. You can see how your question and validation messages will appear in the app by clicking the “Preview” button.
For Radio Group and Checkbox Group questions, you will also need to provide at least two possible answers to your question as well as corresponding unique data names for each answer. You may add up to 7 possible answers by clicking “+ Add Selection.”

Finally, you may change the order of your questions by clicking the up or down arrows in the form.
Once you are satisfied and have completed all required fields for your question(s), click “Save.” To make your question(s) visible on your HRA, click the “Publish” button. Your questions can be changed or deleted at any time by returning to the Custom Questions page in Portal and re-publishing your app. Please note that any changes to your data names will be reflected in your raw data reports. As a best practice, we recommend you avoid changing these names whenever possible.


 Thank you for your interest.