When you log-in to the HRA client portal after purchasing your HRAs, you’ll see your HRAs on the dashboard ready for customization. To launch an HRA, you’ll need to complete 3 easy steps.
Important: you can always make changes to your HRAs throughout this process and after you have made your HRAs live.
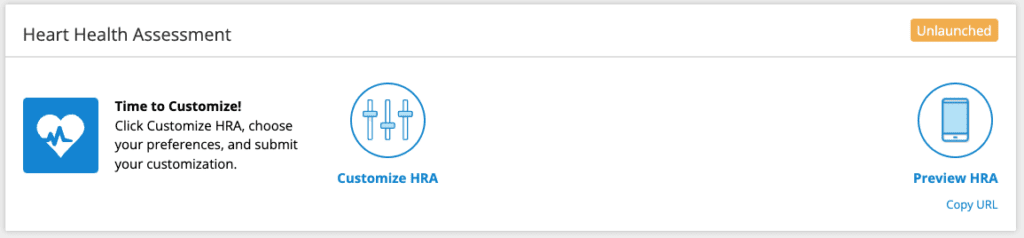
Step 1 – Customize Your HRA
To customize your HRA, click the Customize HRA link within the HRA’s module on the dashboard. This link will take you to the Customization section for the HRA where you can personalize it for your uses. You can add logos, change text and appearances, and many other options. When you are done customizing, publish your customization and return to the dashboard for Step 2.
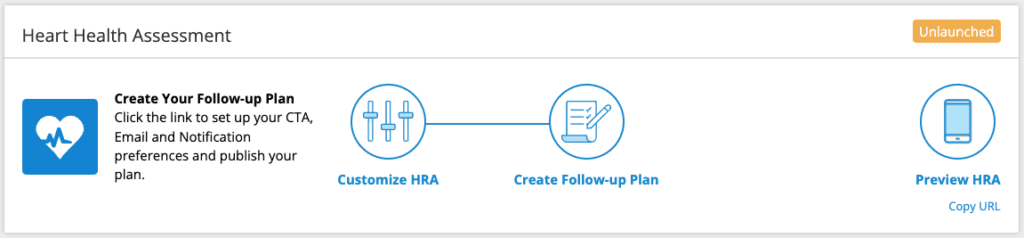
Step 2 – Create Your Follow-Up Plan
Once you’ve published your customization, your HRA is ready for you to Create your Follow-up Plan. In the dashboard module, click the Create Follow-up Plan link. This will take you to the Follow-up Section for your HRA. Here you can set up Calls to Action, Follow-up E-mails, Notifications and more for your HRA. When finished, review and publish your Follow-up Plan and return to the dashboard for Step 3.
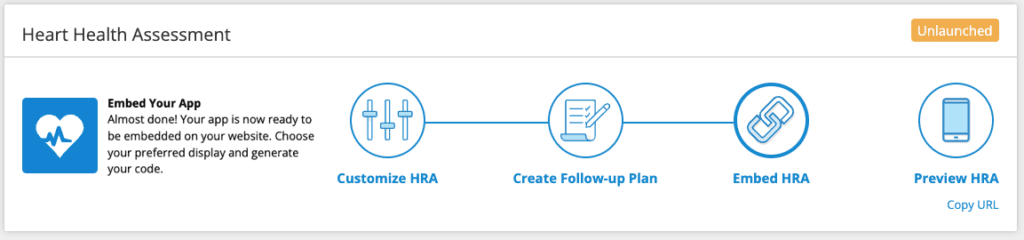
Step 3 – Embed Your HRA
Once you’ve published your customization and your follow-up plan, you can embed your HRA on your website and begin to promote it! Click the Embed HRA link your your HRA’s dashboard module to navigate to the Embed section.
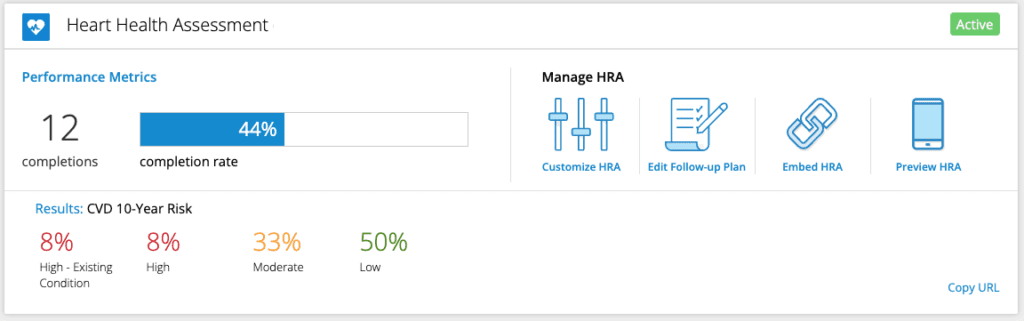
Once traffic starts to flow to the HRA, the dashboard module will display as Active and your HRA is launched! Remember, you can continue to make changes to your HRAs by clicking any link within the Manage HRA area of the module.


 Thank you for your interest.