Your HRAs can be configured to direct users to any of your other HRAs upon completion of the first, improving discovery of other HRAs where a user may be at higher risk. To configure this feature, simply add the “Other Apps” Call to Action (CTA) in your Follow-Up Plan(s).
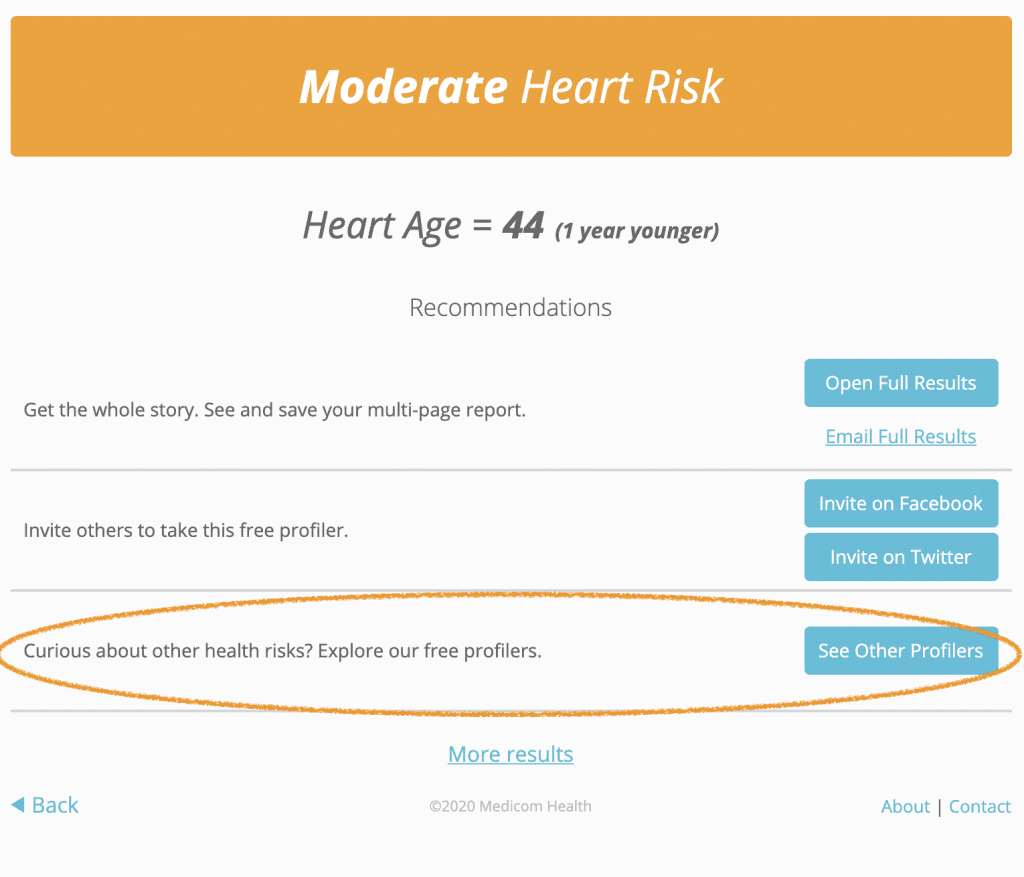
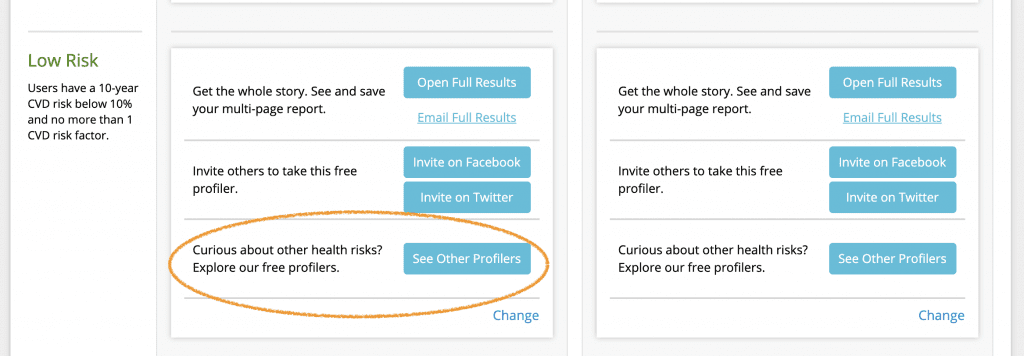
Clicking “See Other Profilers” opens a window that displays all other HRAs that your organization has available with descriptions and direct links to start those HRAs. Users’ answers to questions that repeat across apps will be copied forward, making completing multiple apps easy.
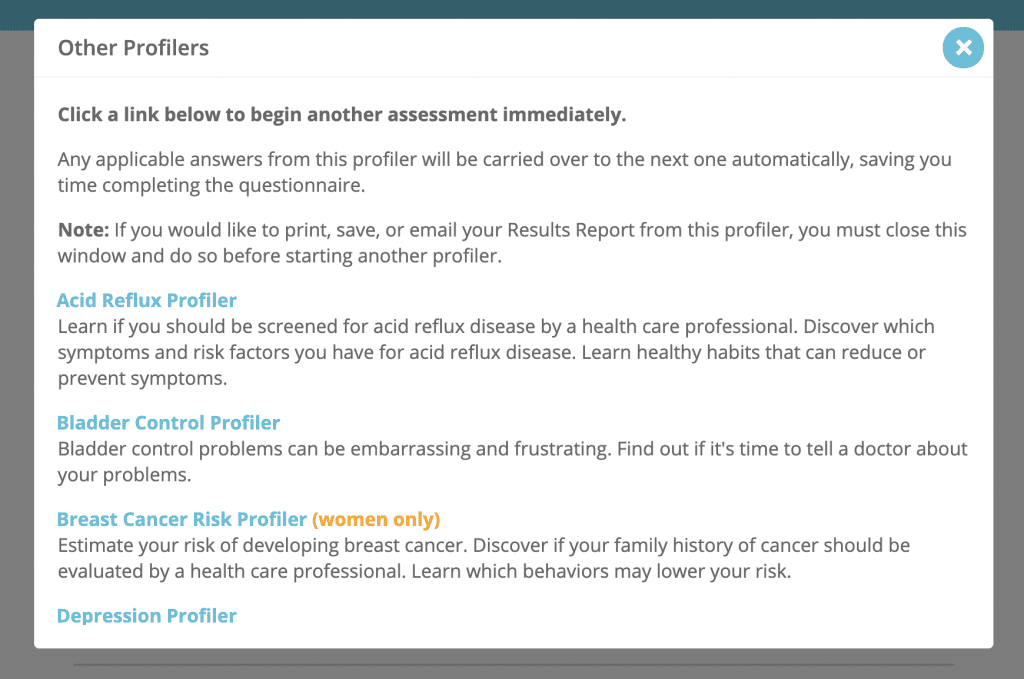
Default “Other Apps” CTA
When first configuring your Follow-Up plan, you will have encountered the Follow-up Wizard. The first page of the wizard asks for Default CTA configuration settings. Each of these can be configured to allow the wizard to create your default CTAs. All are customizable or you may eliminate any CTA type from your plan by checking the “I don’t have this feature” checkbox. After you’ve configured this page, you will not need to do so again unless you want to make changes to your defaults.
In the Default CTAs set-up page, locate the “Other Apps” CTA. Be sure the checkbox is not checked and make any edits to text or button labels here. Configure any other default CTAs and click the Save button. You will be returned to the main Calls to Action section of Portal.

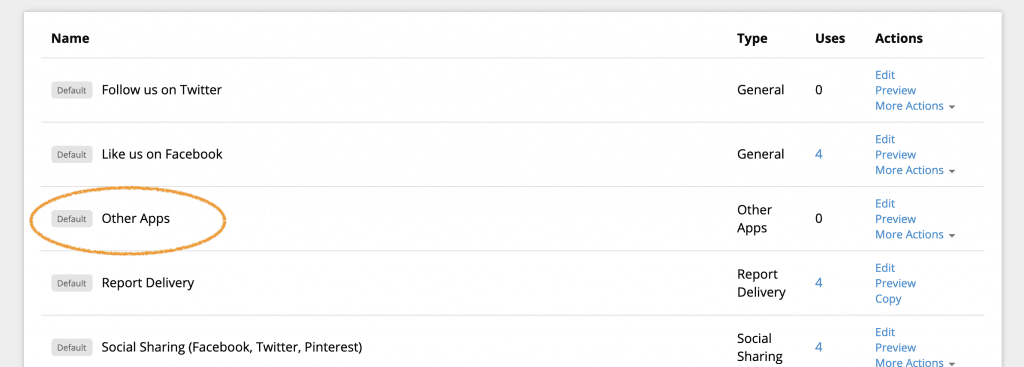
Once you have completed the process of including “Other Apps” CTA in your defaults, you will see it appear on the main CTAs table. From here you can edit, copy, delete, and preview the CTA.
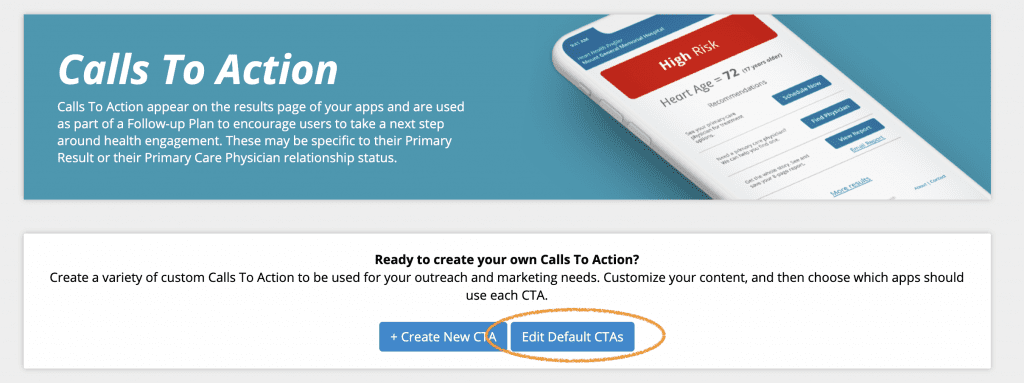
If at any time you want to change your defaults, click Edit Default CTAs button. You will return to the CTAs Defaults page you completed the first time you completed the Follow-up Wizard.
Custom “Other Apps” CTA
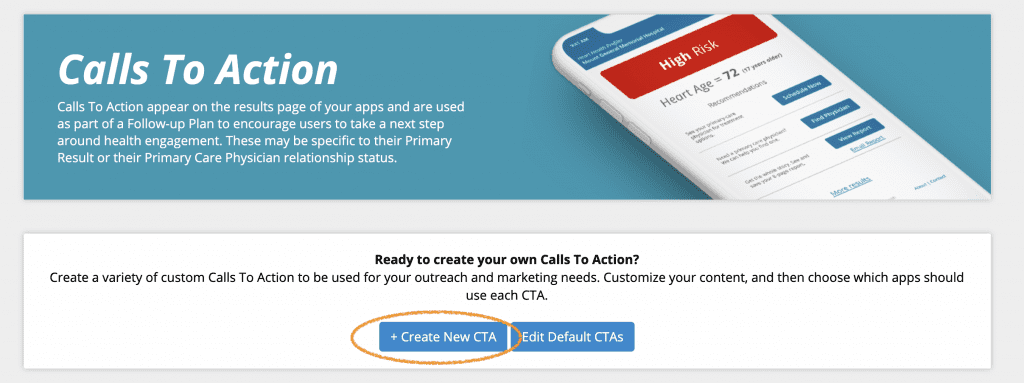
If you prefer not to use defaults, you may create a custom “Other Apps” CTA by clicking +Create New CTA.
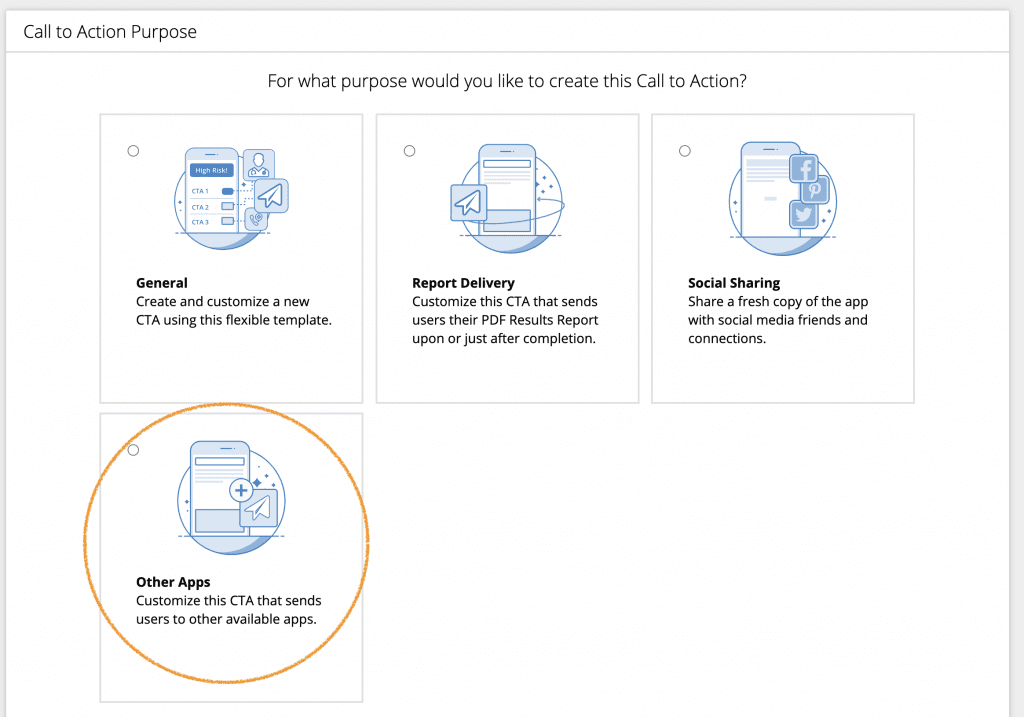
Next, click the Other Apps tile.
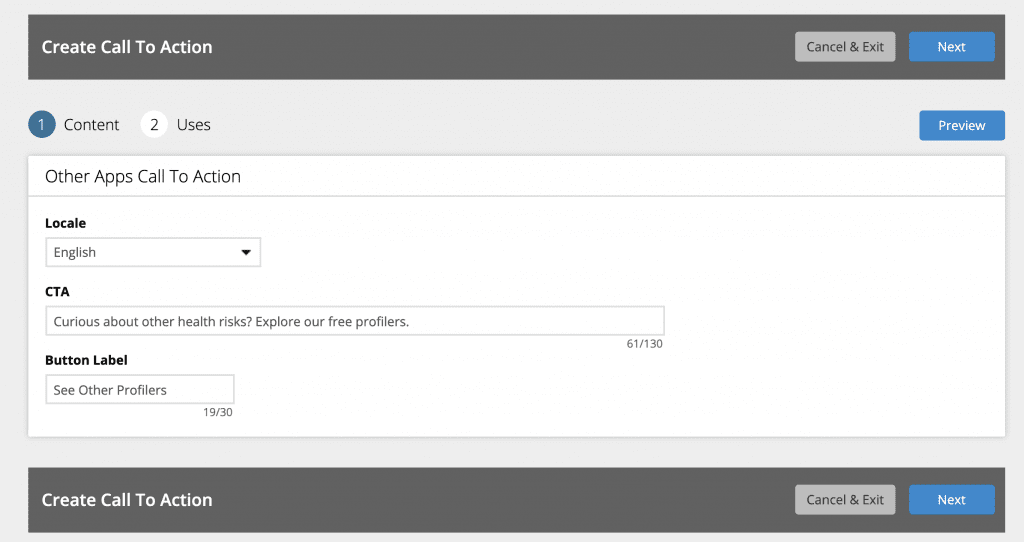
On the Content page, edit your CTA text and button label. Click Next.
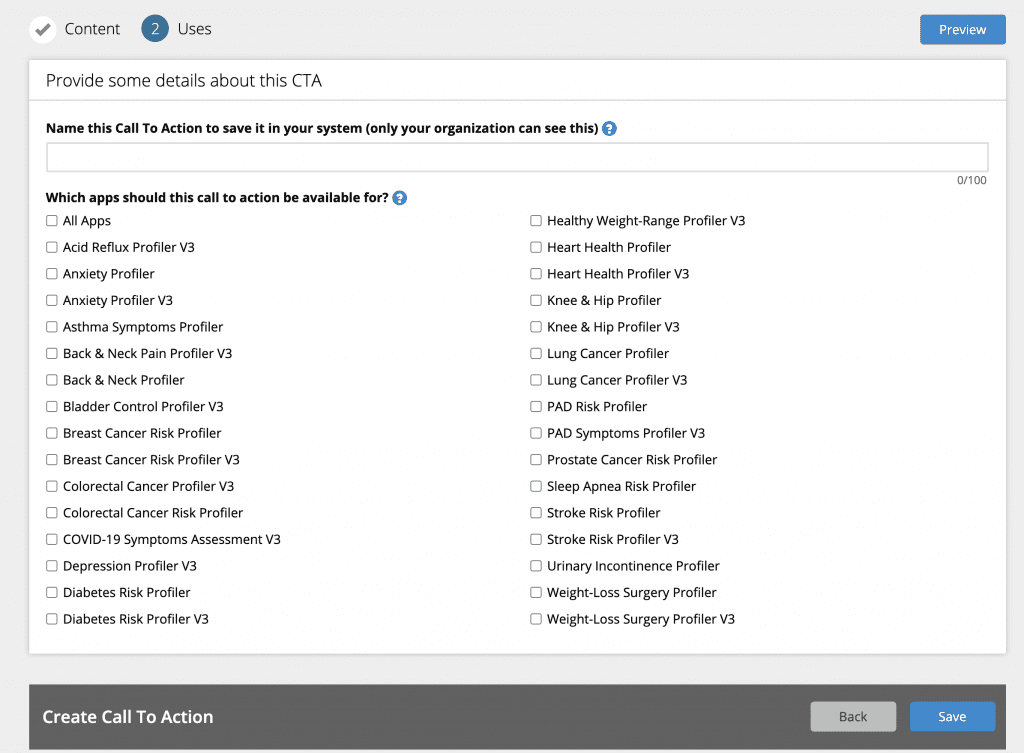
Finally, name your custom CTA and select which HRAs you want it to be available for. When finished, click Save.
You will see your custom CTA in the CTAs main table. From here you can edit, copy, preview, and delete your CTA.

Setting up your CTA in your Follow-Up Plan(s)
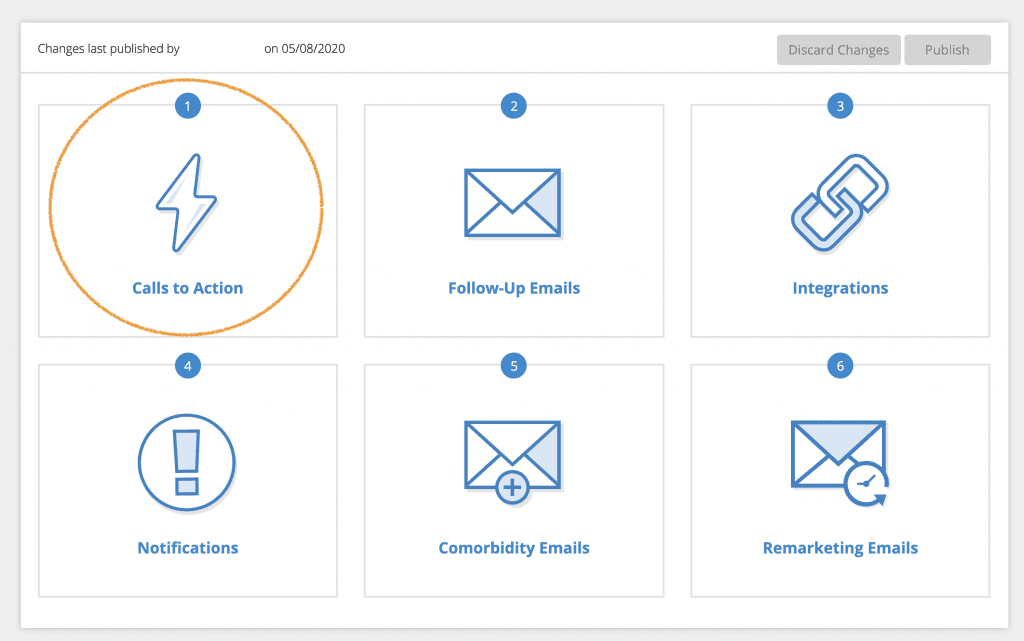
Navigate to the Follow-Up area for the HRA(s) you wish to configure. Click the Calls to Action tile.
If you selected to use the default CTAs when creating your Follow-Up plan, you will see your “Other Apps” CTA appear automatically in the matrix.
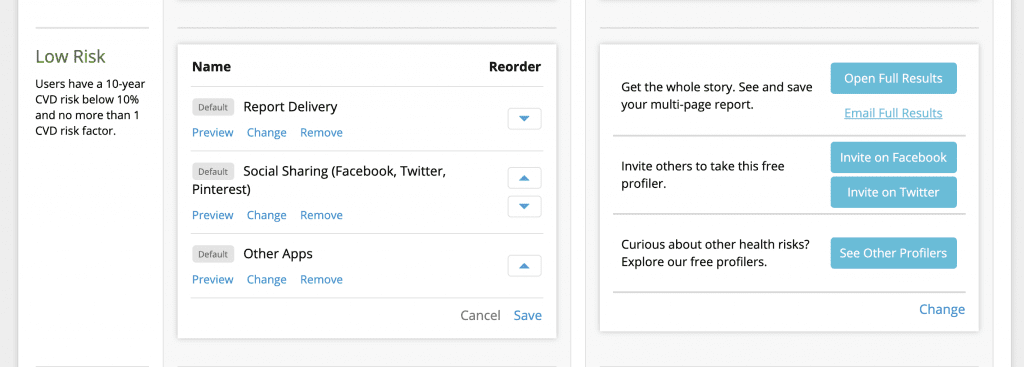
You may re-order or change any of the CTAs in your plan by clicking the Change link. Be sure to click Save when finished.
Click Return to Plan and Publish to make your changes live.
For more information, see the following:
About Follow-Up Plans
About Calls to Action Section
Managing Your Follow-Up Plan – Calls To Action Sets & Mapping


 Thank you for your interest.